By incorporating these natural ingredients and following a consistent routine, you can achieve smooth, glowing, and dewy skin that looks radiant and youthful.
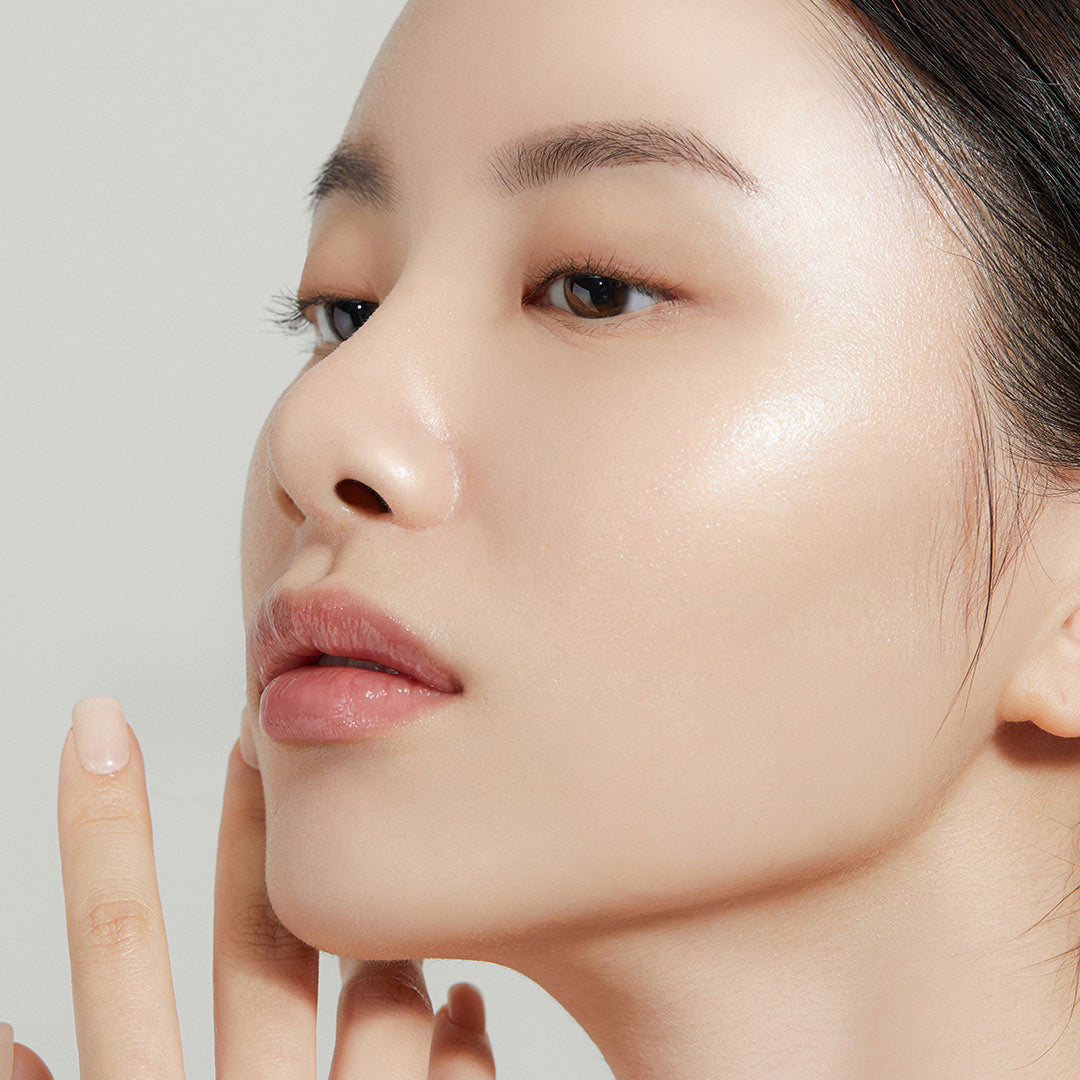
Korean skincare has taken the world by storm, particularly with its focus on achieving glass skin—a radiant, smooth, dewy, and clear complexion that is as flawless as glass. The concept of glass skin refers to a glowing, hydrated, blemish-free, and even-toned complexion that looks clear and translucent. Korean beauty routines are designed to enhance your skin's natural health and glow, and with the right skincare steps, anyone can achieve this glowing, youthful appearance.
In this guide, we will break down the specific skincare routine you need to follow to achieve Korean glass skin naturally, using easy-to-find ingredients and products. This routine focuses on deep hydration, cleansing, exfoliation, and nourishing the skin to bring out its natural beauty. Let’s dive into the steps you need to follow to achieve flawless, glass-like skin!
What Is Glass Skin?
Glass skin is a term used to describe skin that is smooth, radiant, and clear. The ideal glass skin is poreless, dewy, even-toned, and has a transparent, healthy glow. The goal is to create the perfect balance of moisture and hydration, as well as smooth out any rough texture and uneven tone.
Key Characteristics of Glass Skin:
-
Clear: Free from blemishes, acne, or redness.
-
Decongested Pores: Pores should be minimized and not clogged with dirt or oil.
-
Even Tone: Skin tone should be uniform without hyperpigmentation or dark spots.
-
Glow: The skin should have a natural, luminous radiance, with a subtle dewy finish.
-
Soft and Supple: Skin should feel soft, smooth, and hydrated, without feeling tight or dry.
Achieving glass skin is not about perfection but about consistently caring for your skin to reveal its natural glow and smooth texture.
Step-by-Step Routine for Achieving Korean Glass Skin

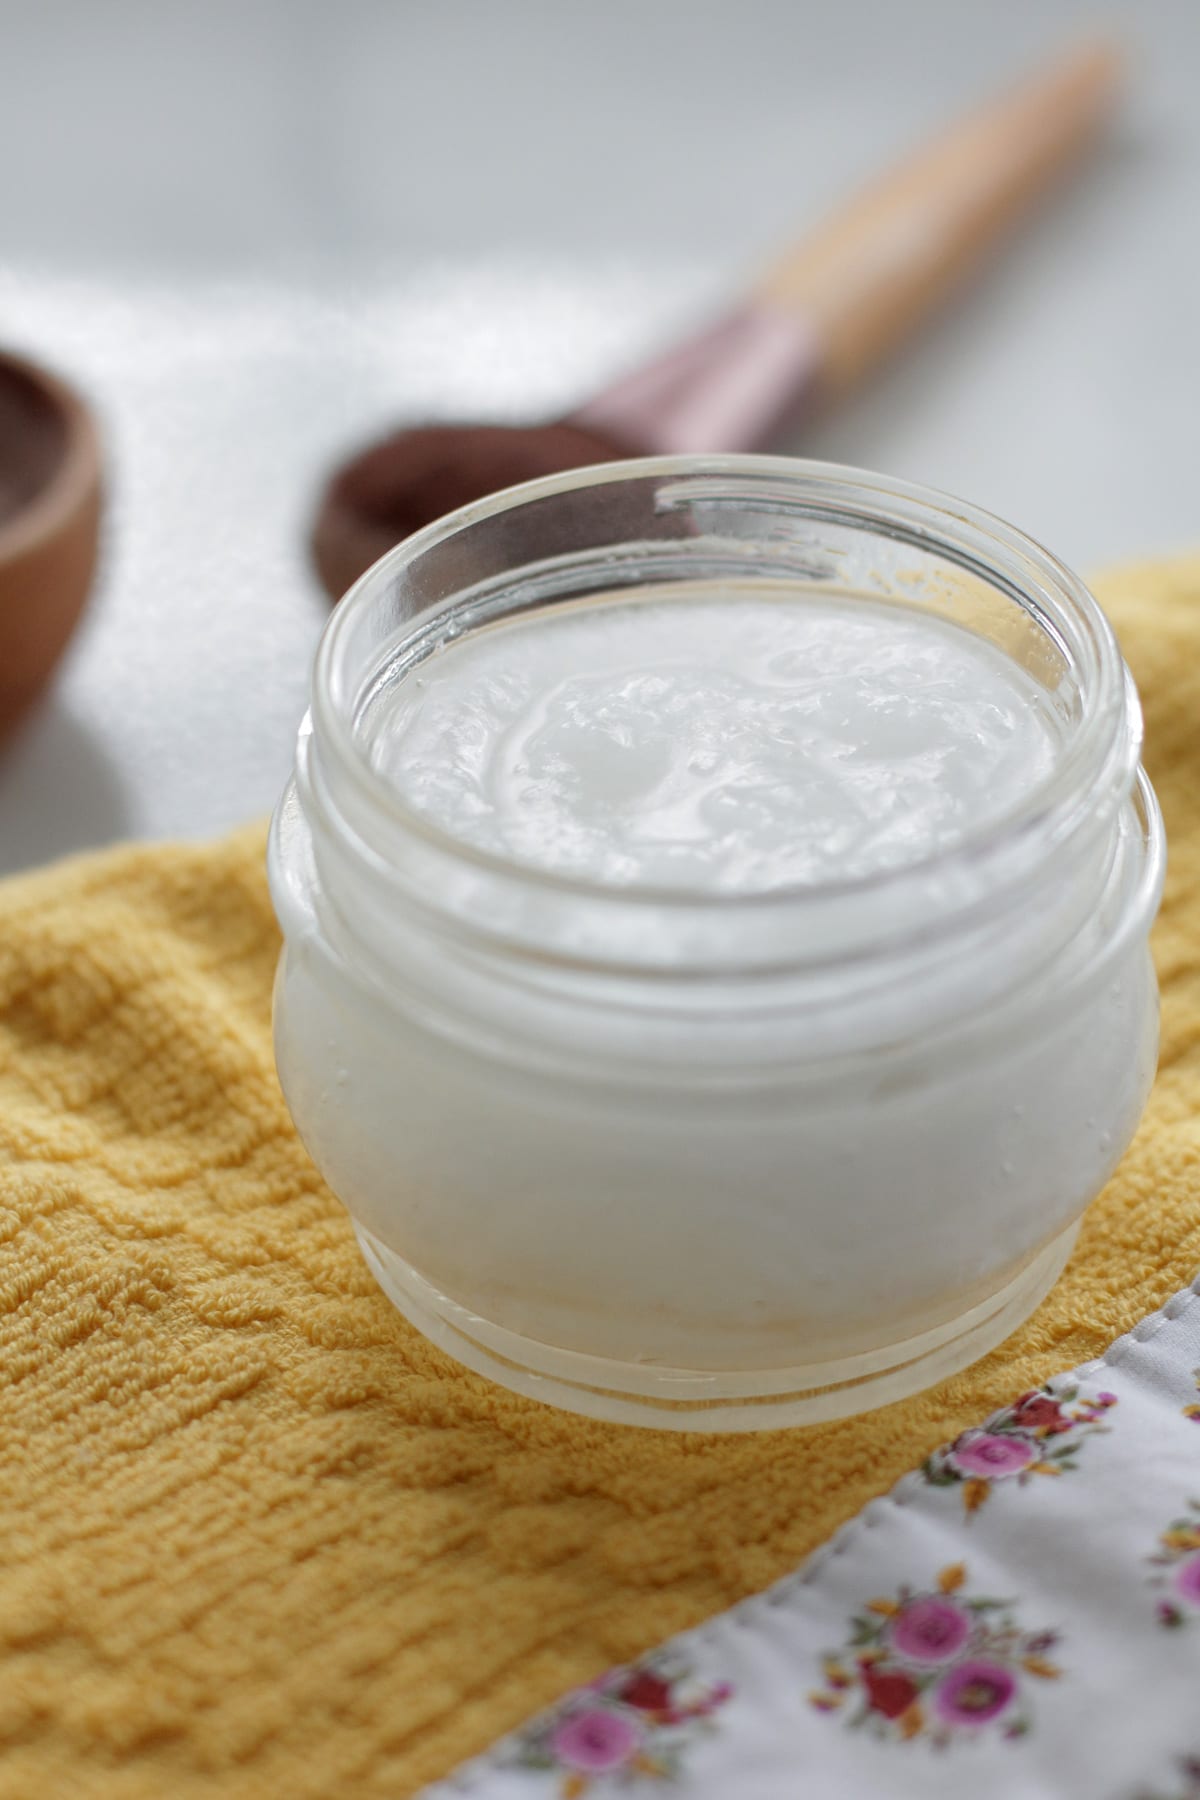
Step 1: Oil Cleansing
The first step in your skincare routine is oil cleansing. Oil cleansing is essential because it helps remove makeup, dirt, sunscreen, and excess oils that build up on your skin throughout the day. Using oil to cleanse the skin ensures that your face is thoroughly cleaned without stripping away the skin’s natural oils.
Ingredients for Oil Cleansing:
How to Make and Use Oil Cleanser:
-
Mix equal parts of coconut oil and olive oil in a jar or container. These oils are rich in vitamins and antioxidants that help nourish the skin.
-
If you have oily or acne-prone skin, add a few drops of tea tree oil, which is known for its antibacterial properties.
-
Take a teaspoon of this oil mixture and apply it gently to your face using soft circular motions. Focus on areas where makeup or sunscreen tends to accumulate.
-
After massaging for about a minute, rinse your face with warm water to remove any excess oil and impurities.
This oil cleanse will leave your skin feeling hydrated and fresh while effectively removing surface buildup.
Step 2: Deep Cleansing
After oil cleansing, it’s time for a second round of cleansing to ensure your skin is completely clean and free of any leftover oil or dirt. This step uses a foaming face cleanser to deeply clean your pores and ensure that no impurities are left behind.
How to Deep Clean:
-
Use a gentle foaming cleanser that suits your skin type. Ideally, pick one that is non-stripping and hydrating to avoid drying out your skin.
-
Apply the cleanser to your damp face and gently massage in circular motions to ensure deep cleansing.
-
Rinse thoroughly with lukewarm water to reveal clean, fresh skin.
Deep cleansing ensures that your skin is thoroughly prepped for the following skincare steps.
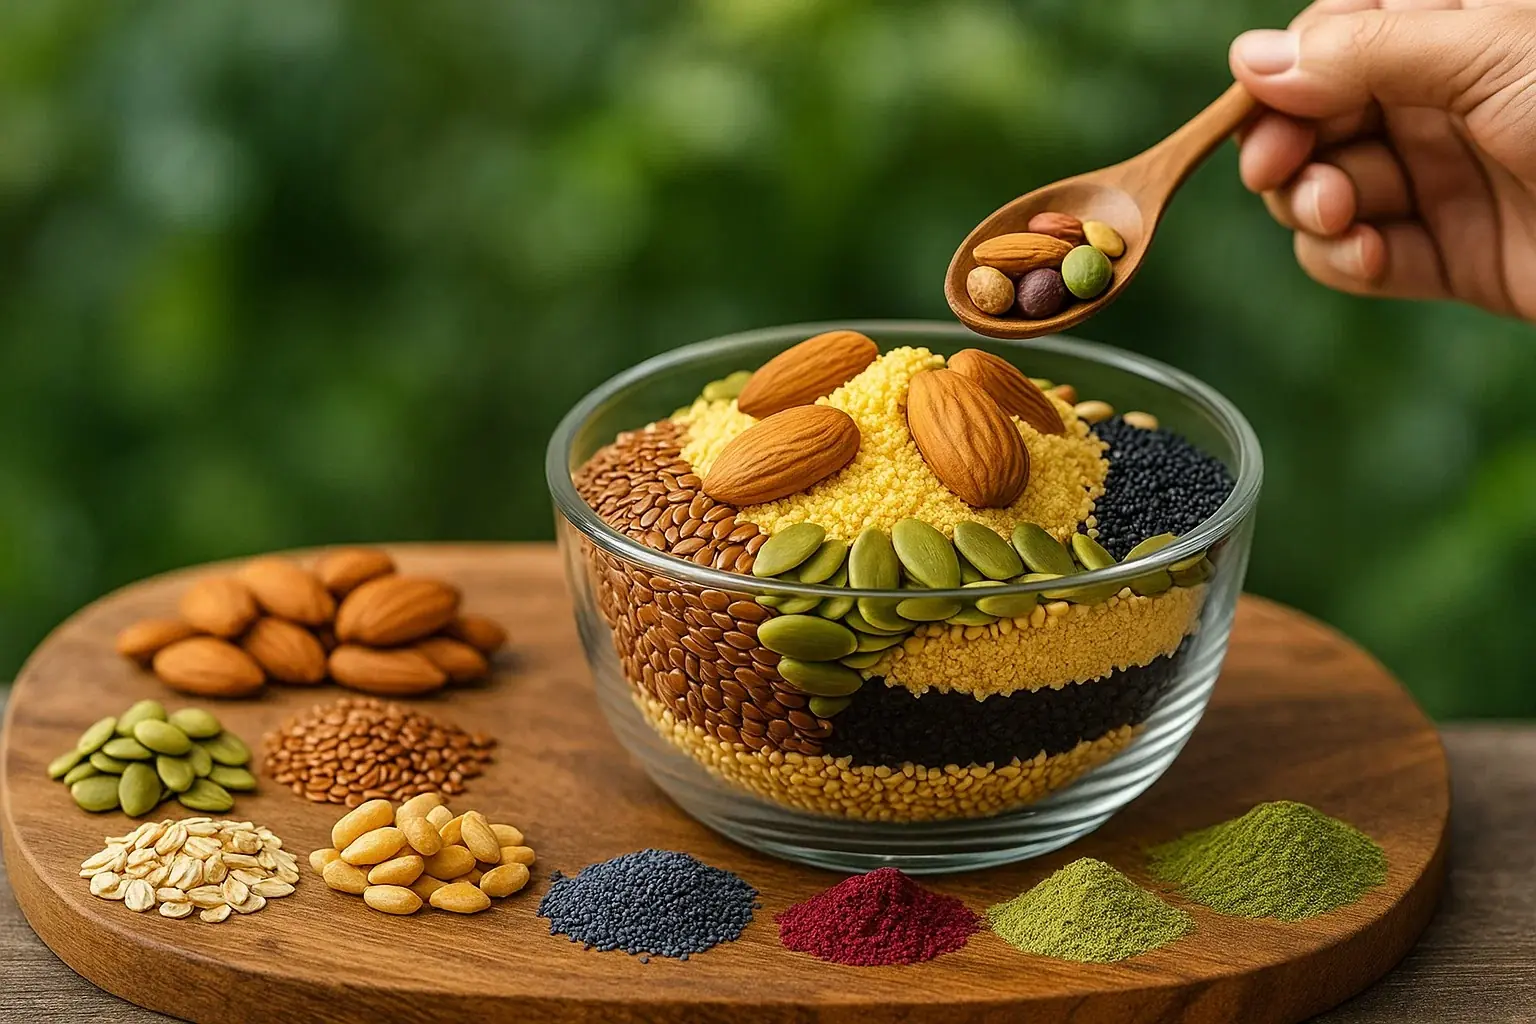
Step 3: Exfoliation
Exfoliation is a key step for achieving smooth, even skin. It removes dead skin cells and helps the skin renew itself. However, you should not exfoliate your skin every day. Exfoliate 1-2 times a week to avoid irritating your skin.
Ingredients for Homemade Exfoliator:
How to Make and Use the Exfoliator:
-
In a clean bowl, mix orange peel powder and sandalwood powder.
-
Add rosewater to the mixture until you form a thick paste.
-
Gently apply this scrub to your face, avoiding the eye area. Massage in upward circular motions for 2 minutes.
-
Let it sit for a few minutes and then rinse with plain water.
This natural scrub not only exfoliates but also helps brighten the skin, leaving it feeling fresh and rejuvenated.
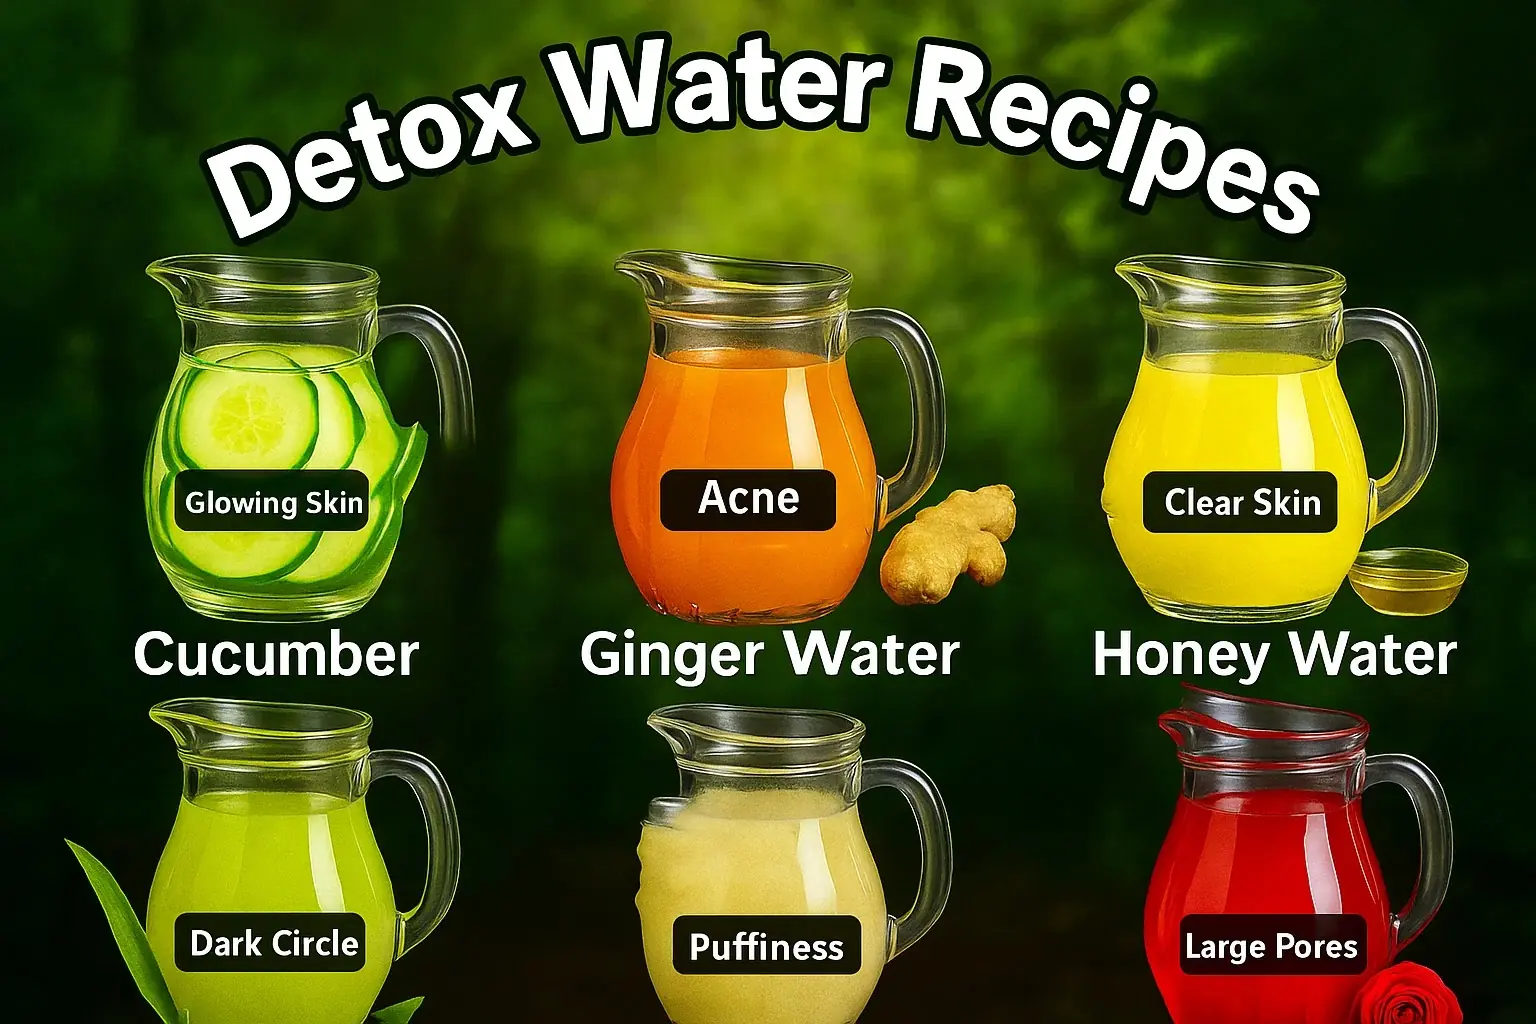
Step 4: Toning
Toning is essential for balancing the skin’s pH levels and refining the texture. It helps hydrate the skin, minimize pores, and remove any residual impurities after cleansing and exfoliating.
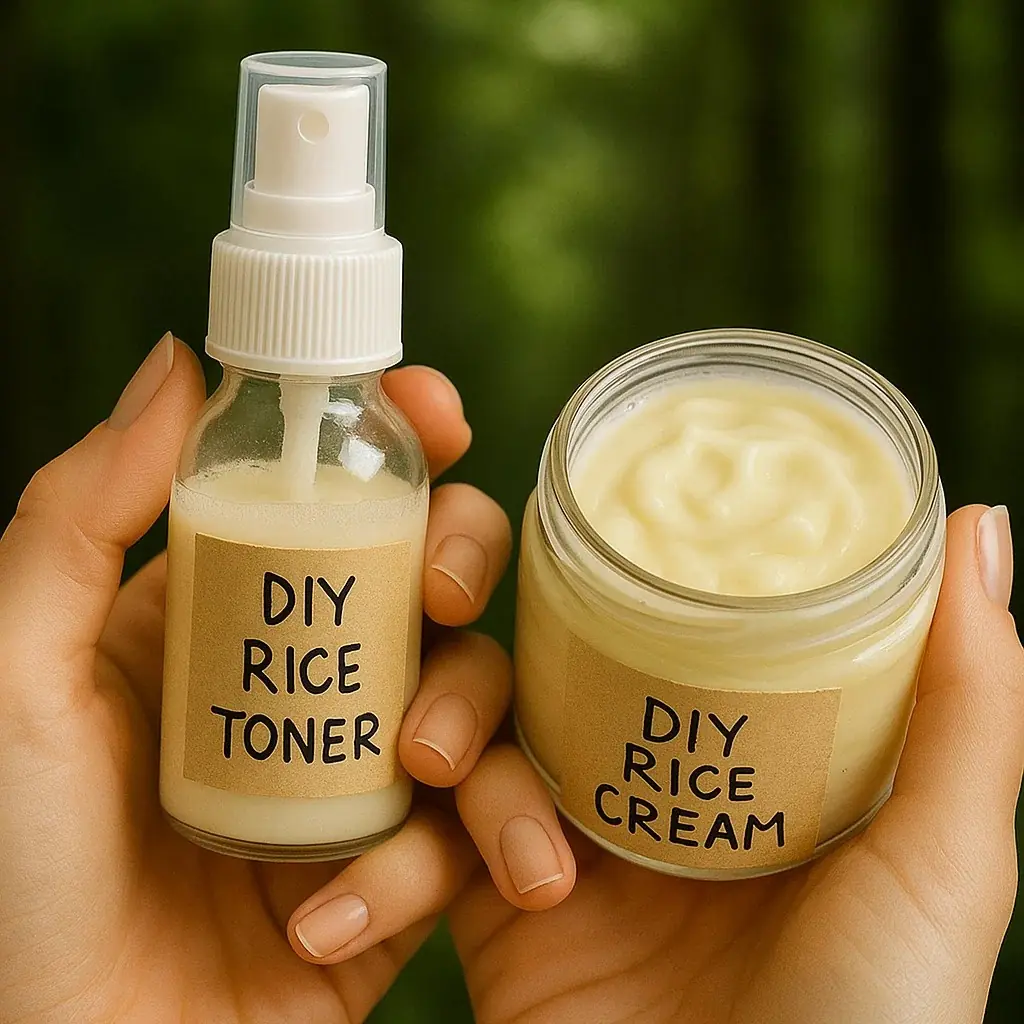
A popular toner in Korean skincare is rice water, known for its clarifying and hydrating properties. It helps brighten the skin and make it appear smoother.

How to Use Rice Water as a Toner:
-
Soak a cotton pad with rice water and gently apply it to your face.
-
Pat the toner into your skin until it is fully absorbed.
Rice water helps maintain the skin’s moisture balance and provides nutrients that enhance the overall complexion.
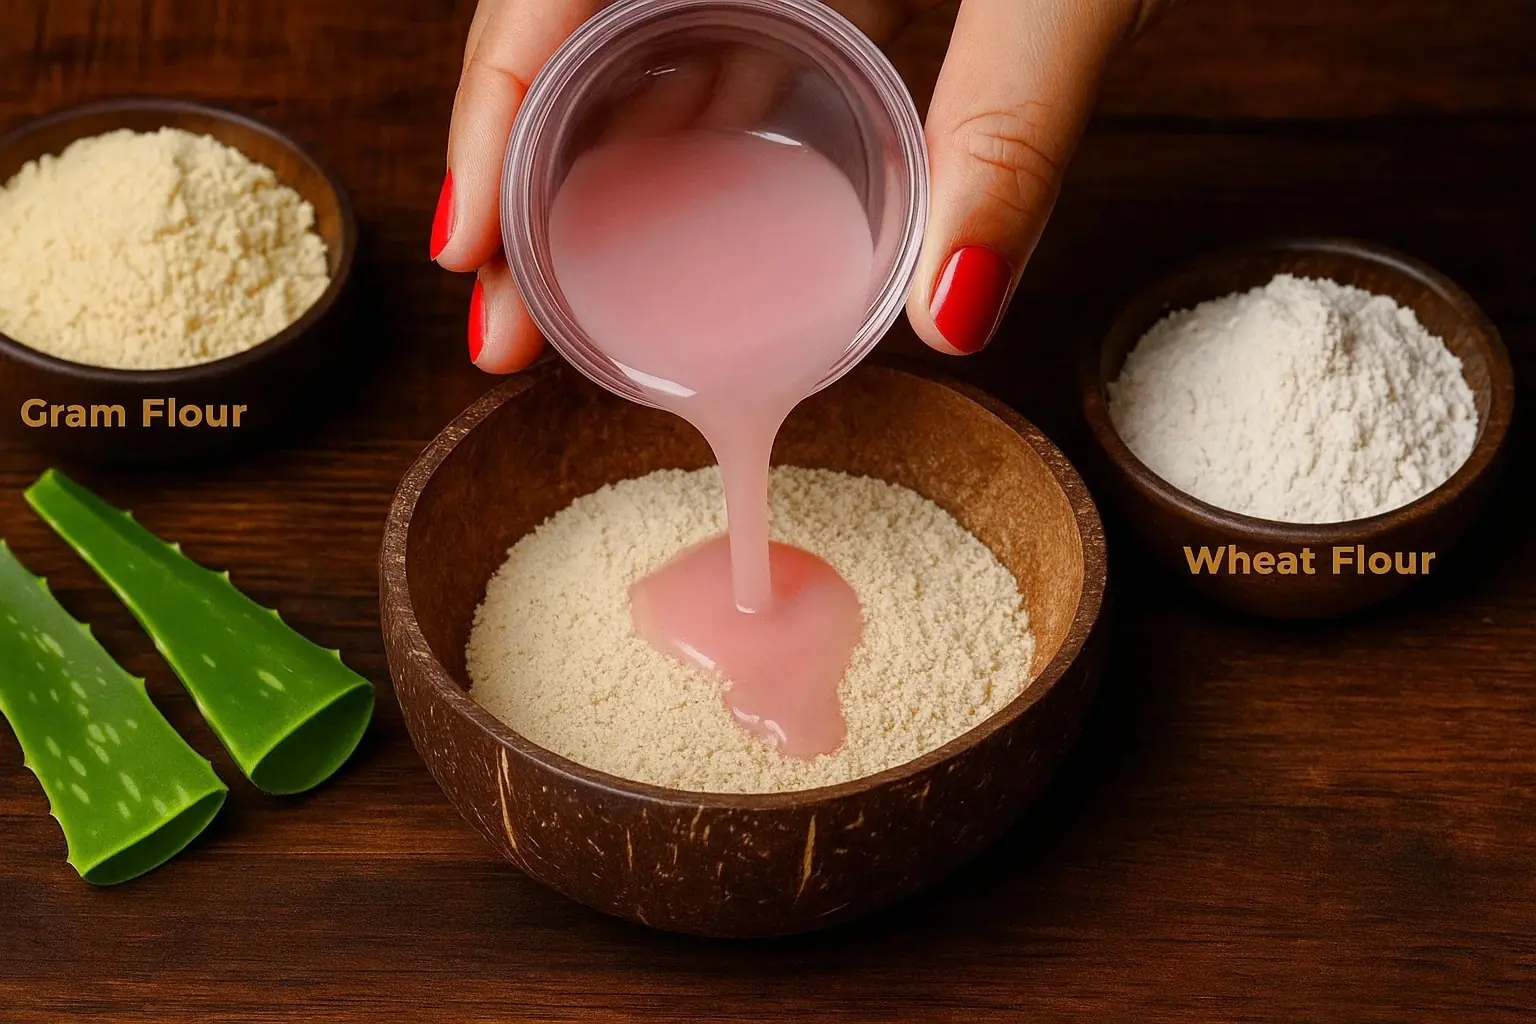
Step 5: Essence
Essences are lightweight, hydrating products that are designed to deeply penetrate the skin and provide moisture. They target specific skin concerns such as pigmentation, rosacea, and dryness. Essences are often compared to serums, but they are less concentrated and have a more watery consistency.
Ingredients for DIY Essence:
-
Rice water
-
Glycerine
-
Rosewater
-
Jojoba oil
-
Aloe vera gel
How to Make and Use the Essence:
-
In a clean, dry pump bottle, add 1/2 tsp of rice water, 1 tbsp glycerine, 3 tbsp rosewater, and 8-10 drops of jojoba oil.
-
Add enough aloe vera gel to achieve a watery consistency.
-
Shake the bottle to mix, then apply a few drops of this essence to your face and gently massage it in.
Essences are designed to hydrate and brighten the skin, giving you that youthful glow associated with glass skin.
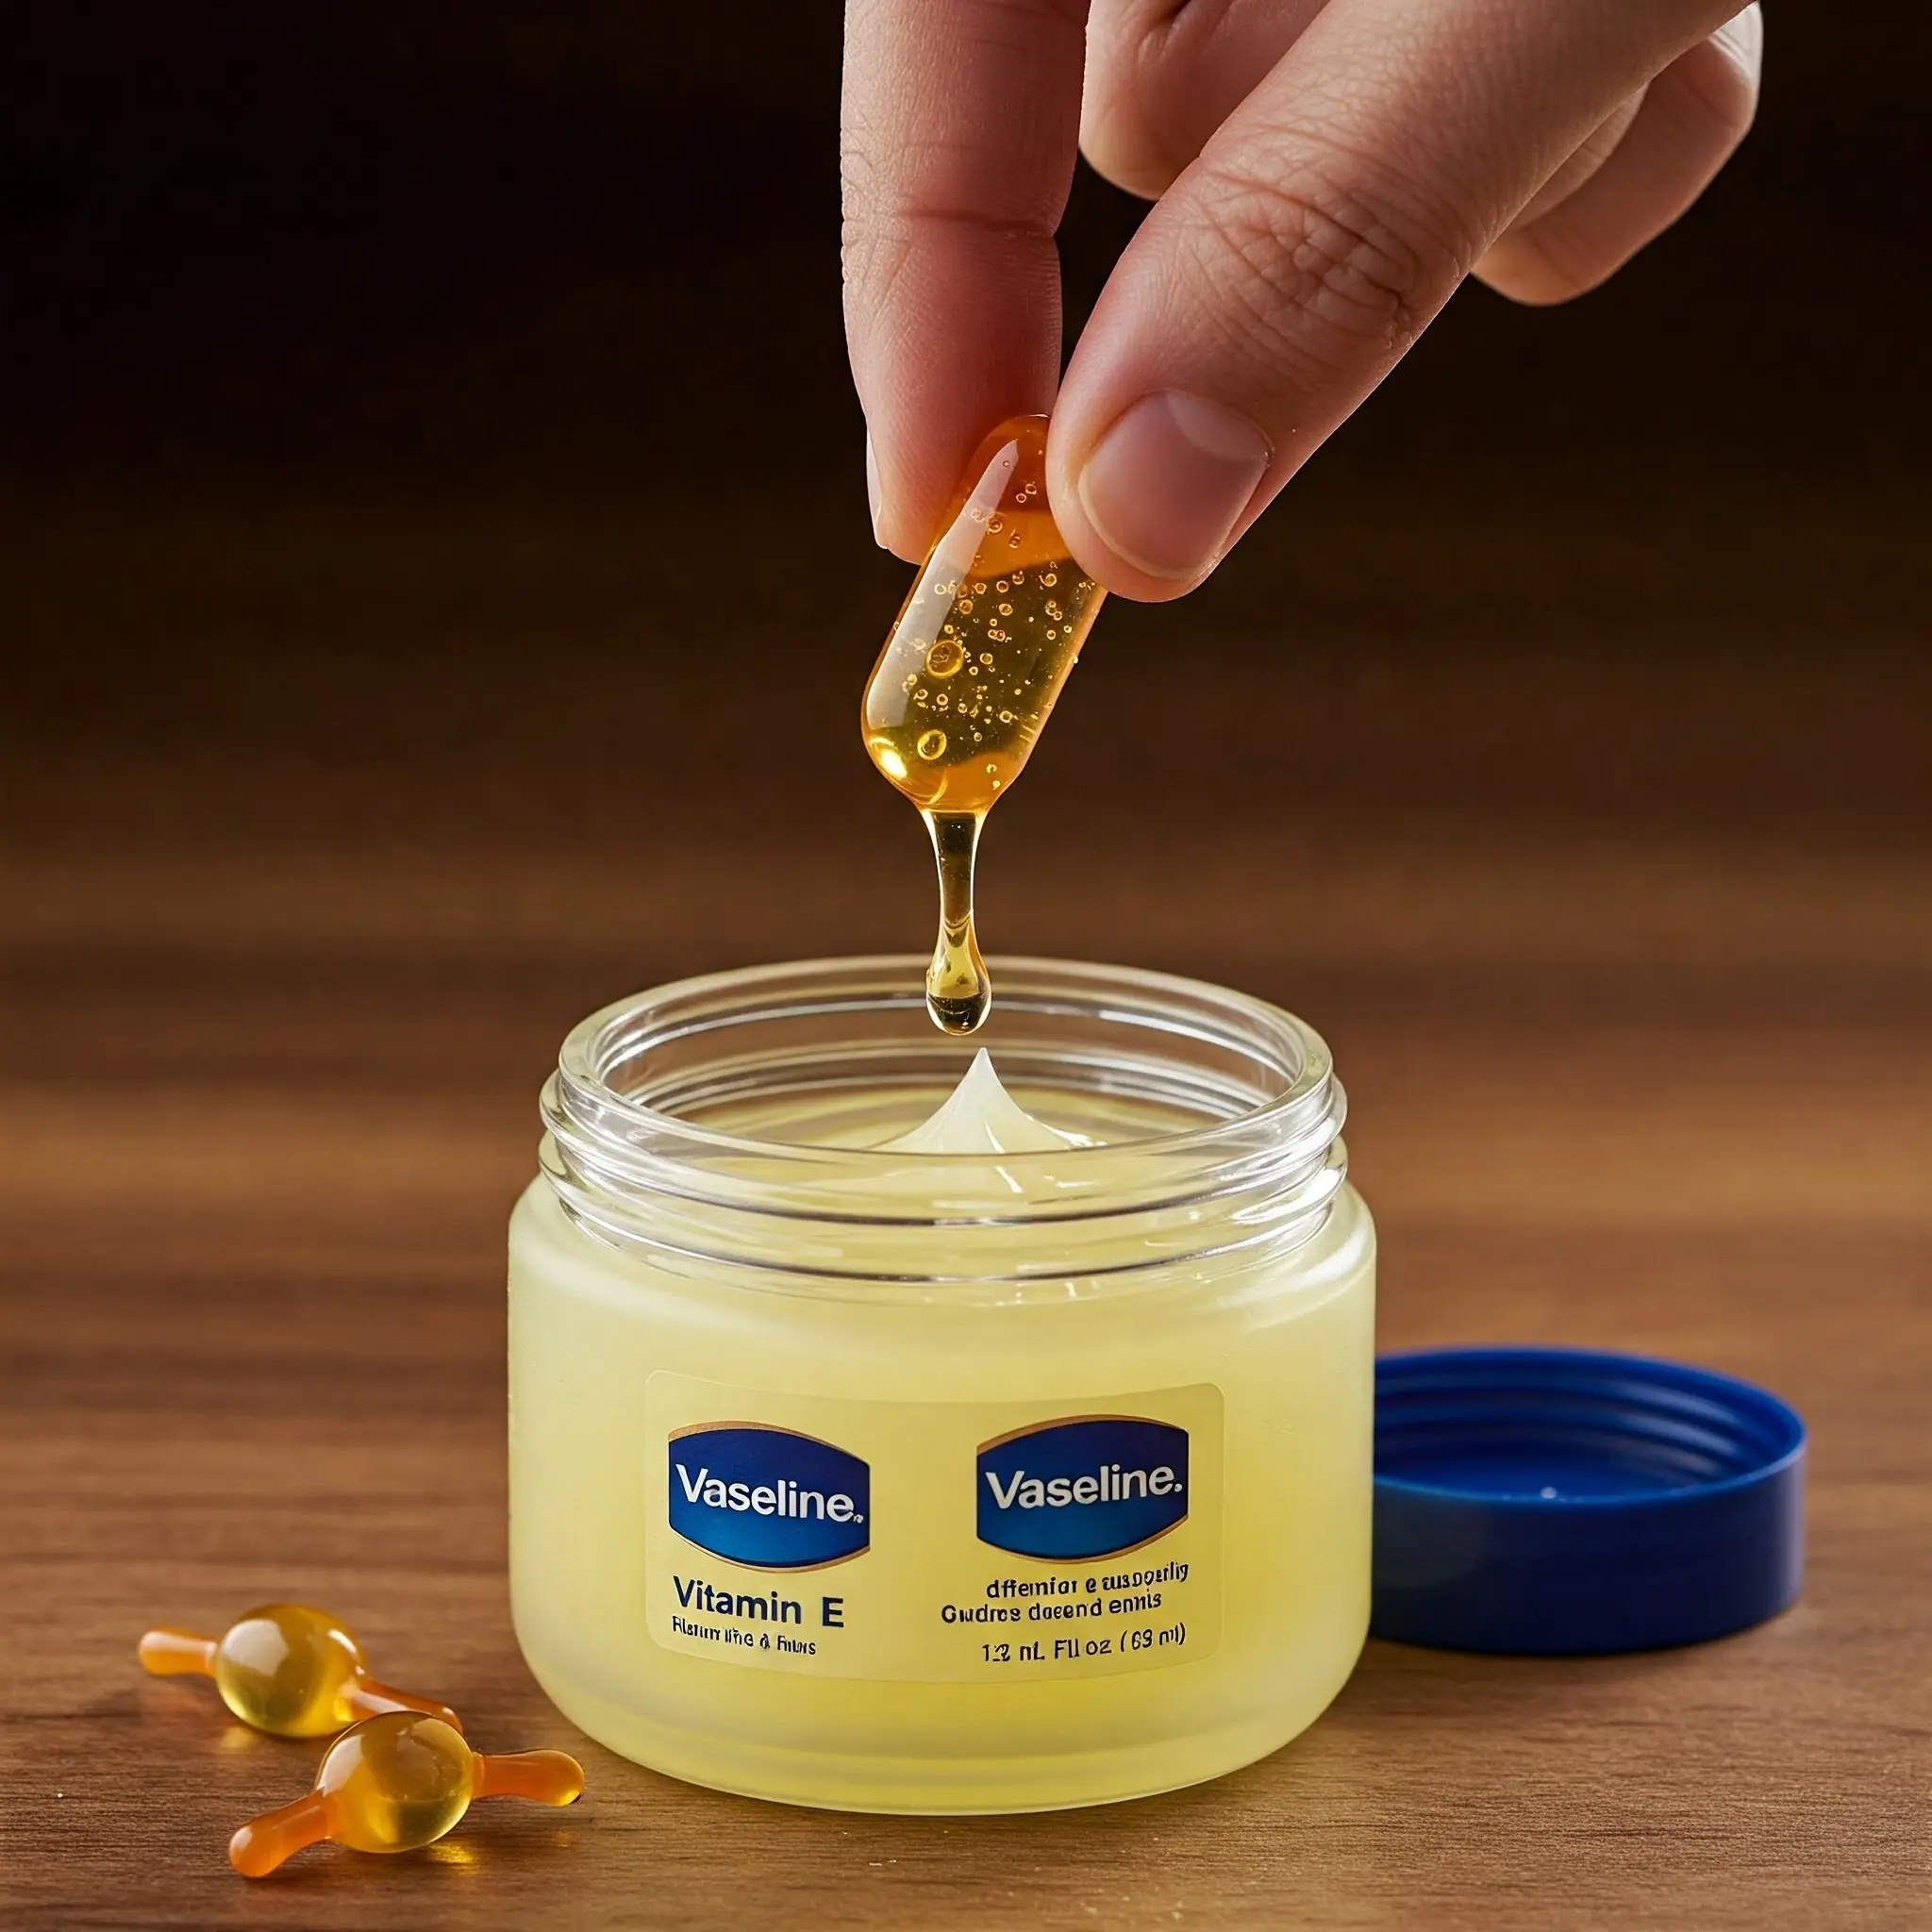
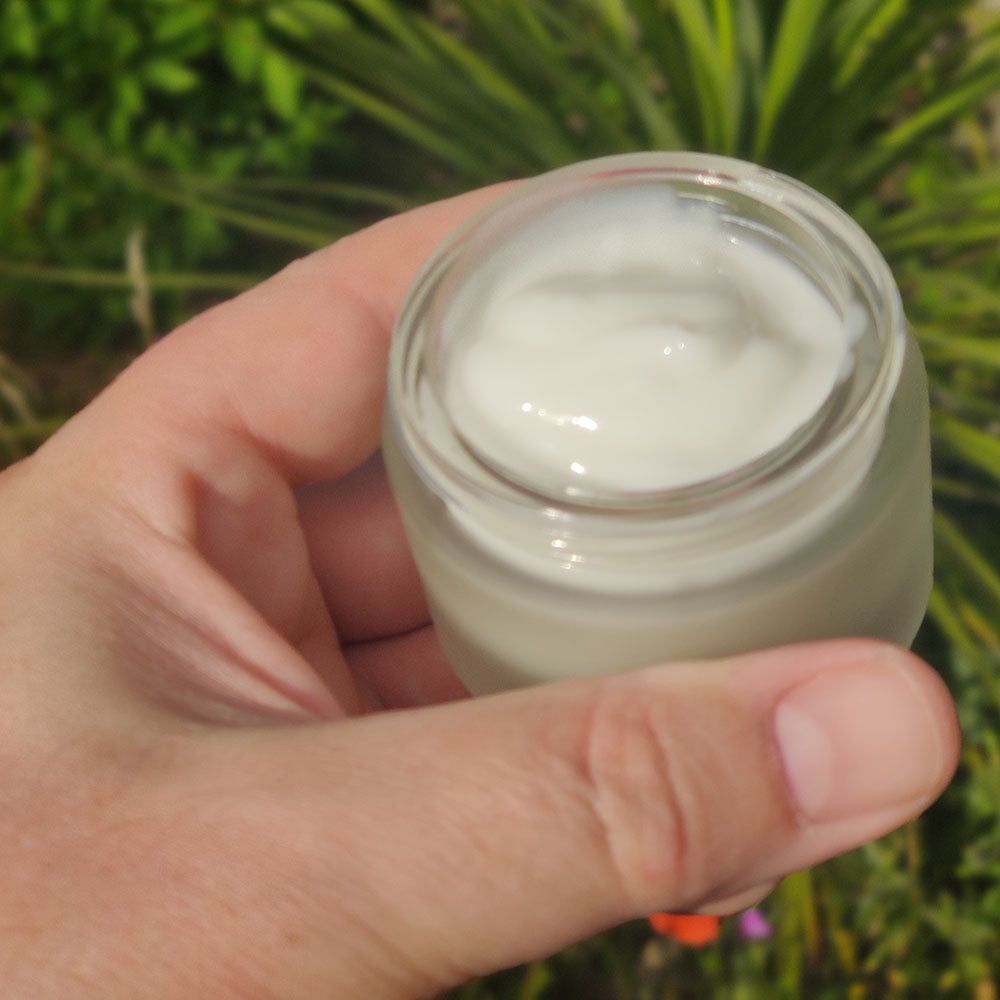
Step 6: Serum
Serums are more concentrated than essences and contain active ingredients that target specific skin concerns, such as fine lines, pigmentation, and dehydration. A serum helps to lock in moisture and provide extra nourishment to the skin.
Ingredients for DIY Serum:
-
Rice
-
Milk
-
Vitamin E oil
-
Aloe vera gel
How to Make and Use the Serum:
-
Soak 2 tbsp of rice in water for 5-6 hours.
-
Transfer the rice to a pan and add 1 cup of milk. Let it simmer on low heat until the rice is cooked.
-
Strain the liquid and mix in 4 tsp of aloe vera gel and 2 tsp of Vitamin E oil.
-
Stir the mixture well and apply a few drops to your face and neck.
Serums provide targeted hydration and nourishment, leaving your skin soft, smooth, and radiant.
Step 7: Moisturizing and Sunscreen
The final steps in your routine involve locking in all the moisture you’ve built up with a moisturizer and protecting your skin from harmful UV rays with sunscreen. This is a crucial step to maintain glass skin, as moisturizing keeps your skin soft, plump, and hydrated, while sunscreen prevents sun damage that can lead to aging, hyperpigmentation, and other skin concerns.
How to Moisturize and Protect:
-
Apply a moisturizer that suits your skin type. Look for one that hydrates and locks in moisture without making your skin greasy.
-
Follow up with a sunscreen with an SPF of at least 30 to protect your skin from UV damage.
These two products will ensure that your skin remains hydrated, soft, and protected, while maintaining the smooth, glowing finish you’re striving for.
Achieving Korean flawless glass skin requires a multi-step skincare routine that focuses on cleansing, exfoliating, hydrating, and protecting the skin. By incorporating these natural ingredients and following a consistent routine, you can achieve smooth, glowing, and dewy skin that looks radiant and youthful. The key is consistency—follow these steps regularly, and over time, you’ll notice the transformation in your skin. Achieving glass skin is not just about using the right products but adopting a skincare routine that supports your skin